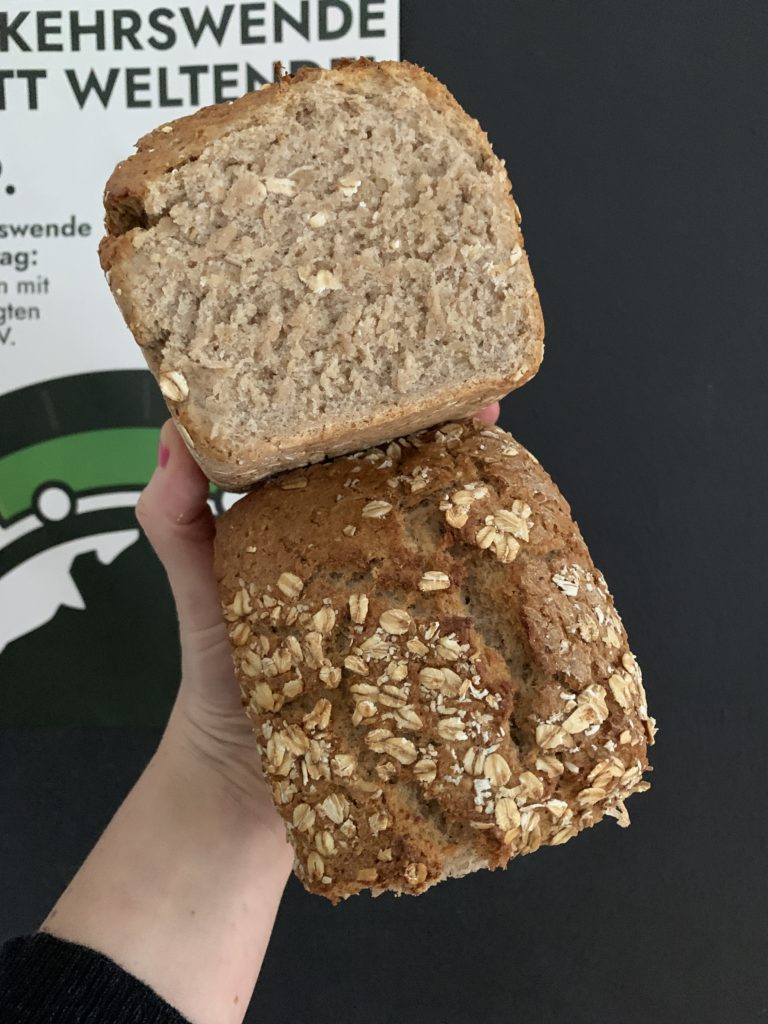
This is a really great bread with a fluffy crumb and crunchy crust, written down with <3 for Nina.
I'm totally into oat bread, so last year I searched the internet up and down for good recipes and finally found an appealing recipe on Lutz Geißler's Ploetzblog, who in turn had the recipe from baker Thomas Schurse. I modified it a bit, because my way works better for me - in my kitchen, with my oven. You can try both recipes if you’re into baking bread and want to experiment. Lutz has replaced the oat grits by oat flakes - I prefer to use oat grits, cause they bring more of a bite to the bread.
One advantage of the ongoing Covid-19 home-office situation is that I can use the short breaks in between to fondle with bread dough - instead of drinking the 100th coffee of the day - and therefore have the chance to experiment a bit more with baking. Yeah.
If you don't have a sourdough starter at home, you can have one given to you by a friend. Or you make one yourself, as I have done with Dirk . Since this bread is additionally baked with yeast, you can also go to a supermarket of choice and buy packaged sourdough starter.
INGREDIENTS
Leaven
- 115 gr. rye flour 1150
- 115 gr. lukewarm water
- 23 gr. sourdough starter
- 2 gr. salt
Swelling piece
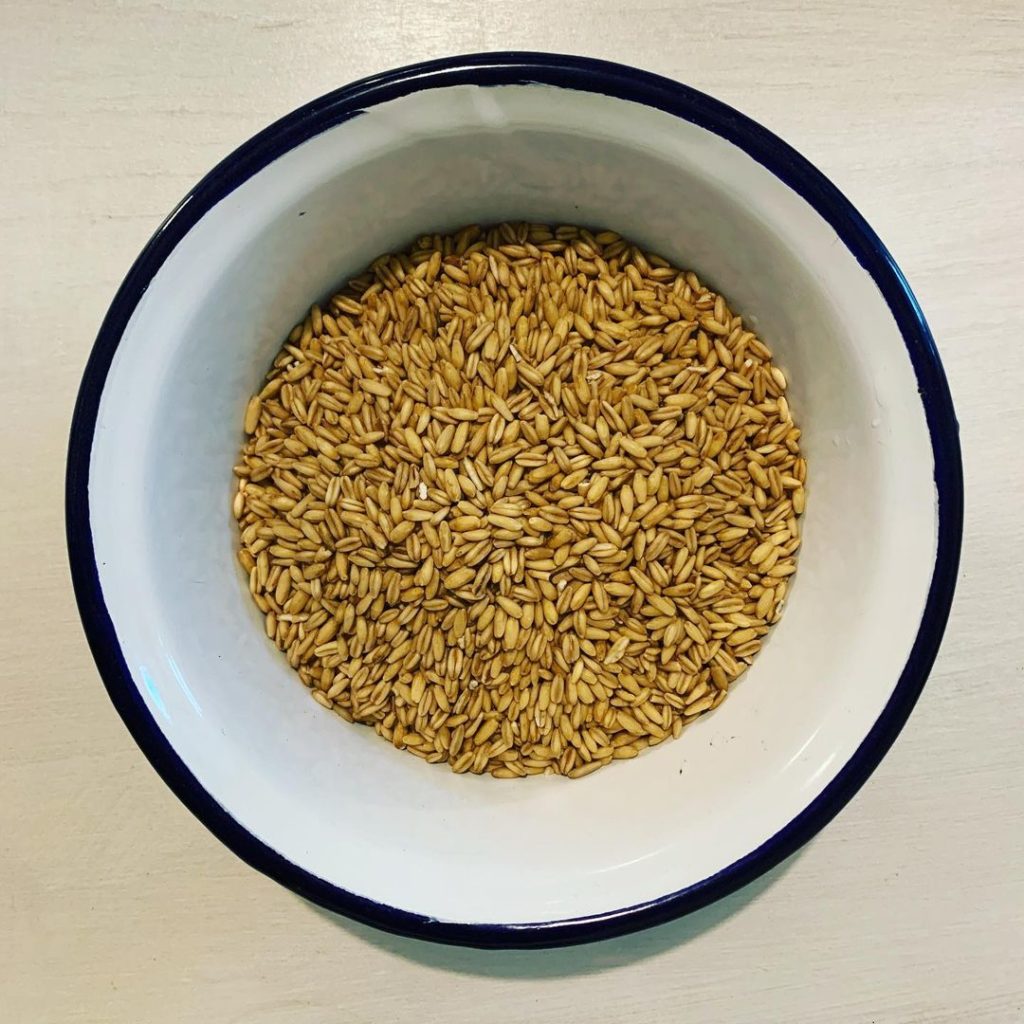
- 205 gr. oat grits (or grind your own naked oats)
- 205 gr. warm water
Main dough
- Leaven
- Swelling piece
- 150 gr. rye flour 1150
- 185 gr. wheat flour 1050
- approx. 145 gr. lukewarm water
- 10 gr. salt
- 9 gr. fresh yeast
- 3 tbsp rolled grain oats
PREPARATION
The leaven and the swelling piece each need about 12 hours to develop. I like to put both on in the evening, then I can start baking the bread in the morning when I get up. If I'm not home during the day, I do it the other way around. I then start both in the morning and bake the bread in the evening.
For the leaven, mix rye flour, water, salt and your sourdough starter in a bowl, cover it with a damp cloth and keep it warm. In my case, it is either on the kitchen radiator or in the stove with the lamp on. It's important that the cloth used to cover is damp so that your dough doesn't dry out.
For the swelling piece mix the oat grits with the water (if you have a mill, you can grind the naked oats fresh yourself beforehand). Cover it with a cloth and leave it in the kitchen, it does not need to be as warm as the sourdough. You could even let it soak in the refrigerator.
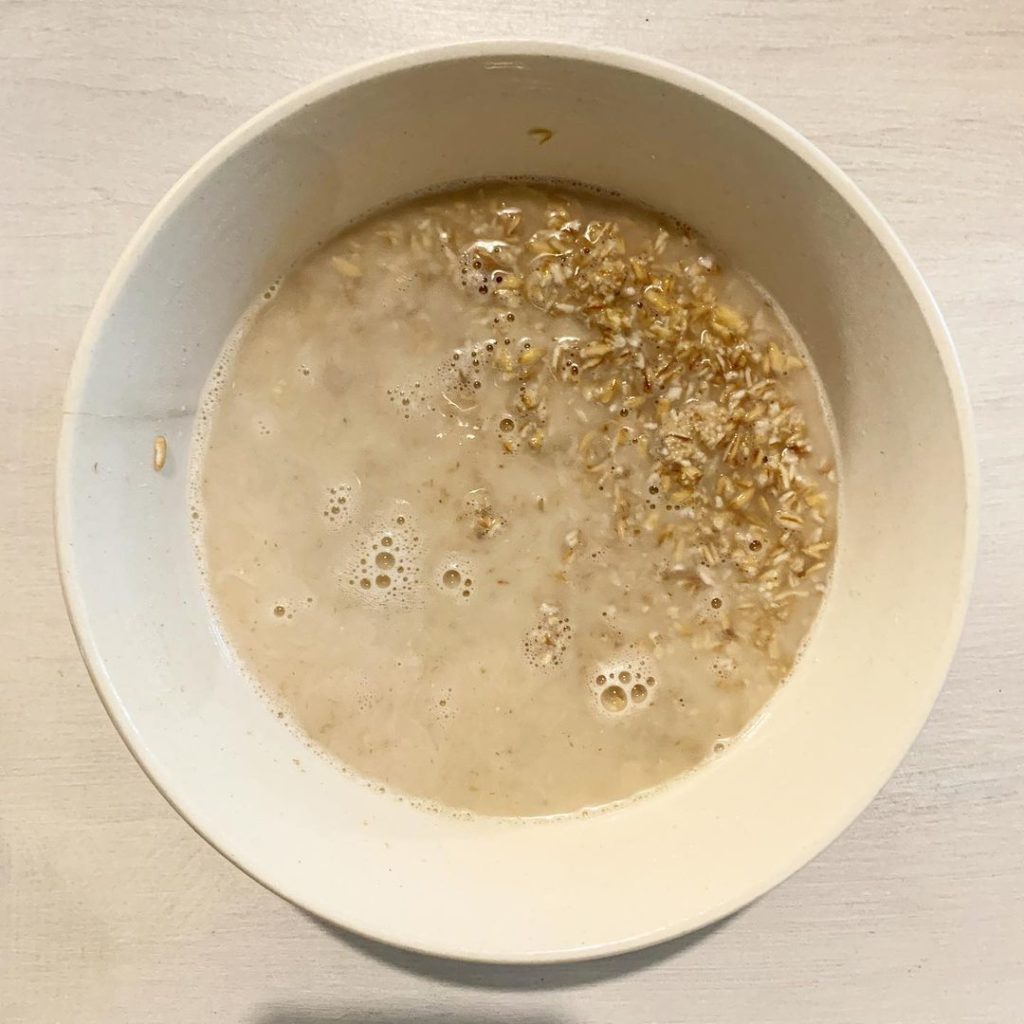
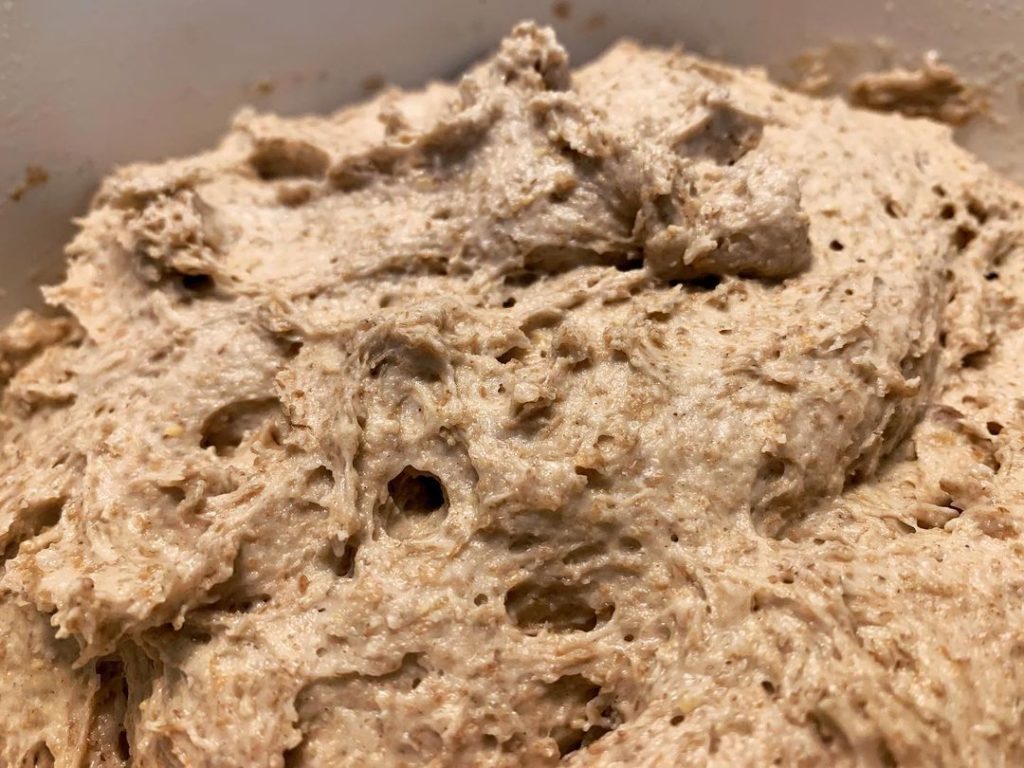
About 12 hours later, the leaven should have developed well, it has risen, is bubbling and smells fresh and sour. Then add the swelling piece and the remaining ingredients and knead with a mixer, starting at a low speed. Gradually add only enough water so that the dough is not too wet. Often it is exactly the specified 145 grams. Then turn up the speed and knead thoroughly for at least 8 minutes to activate the dough. Let rise for 45 minutes in the stove with the light on. The light makes just the right temperature.
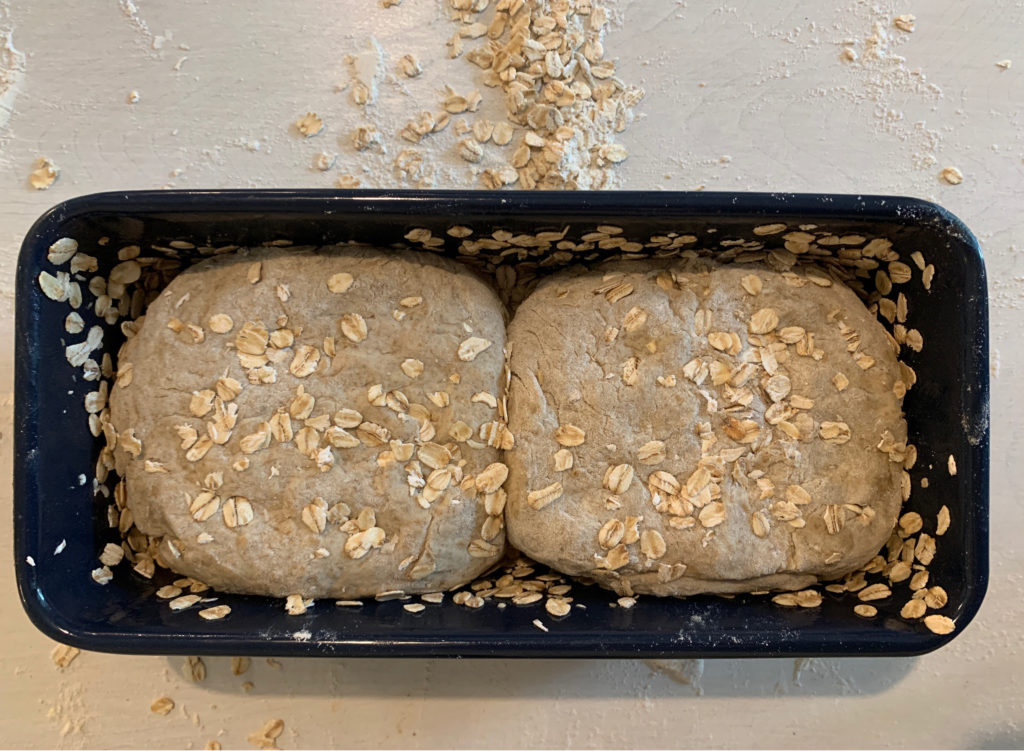
After 45 minutes, divide the dough in half on a floured surface and fold each half separately. Flatten the dough, fold it up ⅔, fold it down ⅔, fold it left ⅔, fold it right ⅔. The longer you do this, the nicer your bread will be. I usually take 5 minutes to do this.
If you want to roll the bread halves in rolled oats, you can wet the dough pieces lightly with water beforehand to make them stick better. With the last flap down, place them side by side in a previously buttered loaf pan.
In the original recipe, the next step is to bring the dough now at about 22-24 ° C over 2 hours to full fermentation. After an hour in the stove with light on, the dough looked fabulous and had risen really nice. A quarter of an hour later it was unfortunately overfermented and collapsed. Since then I just let it rise for 1 hour and have fabulous bread every time. Since every oven and kitchen is different, you should watch it as it rises. When it has risen nicely, you know it's time to bake the bread.
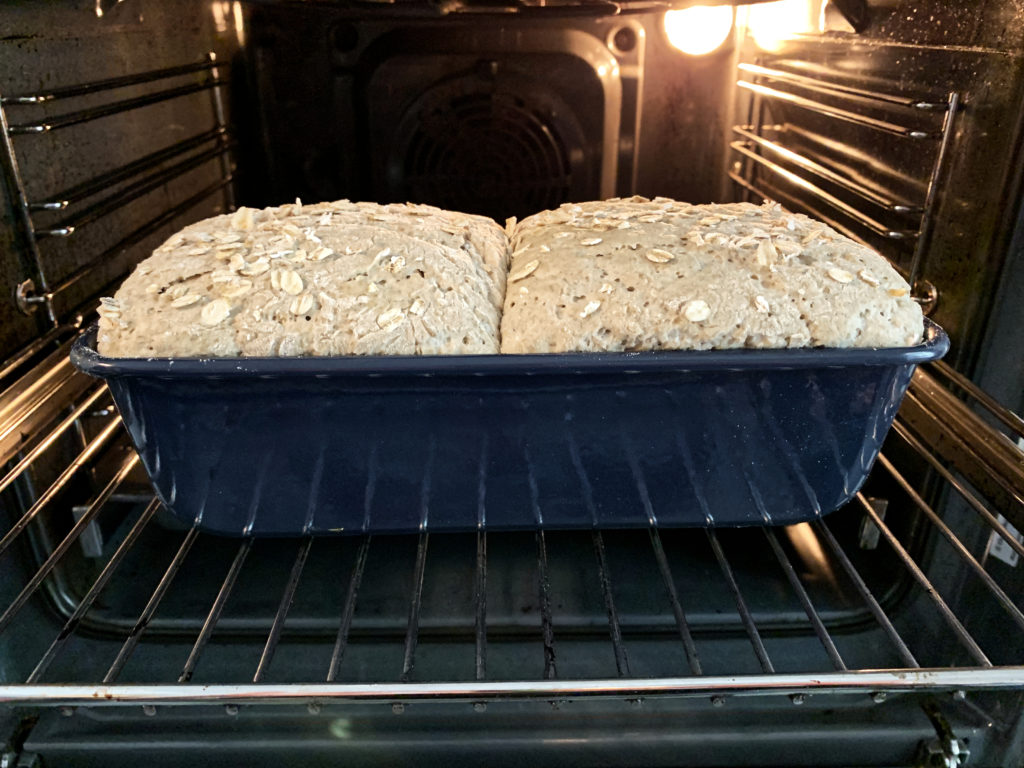
Preheat the oven to 220°C convection. When the temperature is reached, put the bread pan inside. Put a deep pan underneath and pour about 300 ml of boiling water into it. This will create the necessary steam.
After 20 minutes, turn the temperature to 180°C.
Another 25 minutes later, i.e. after a total of 45 minutes, the loaves are removed from the pan and baked free until done. The water in the pan should have evaporated by now. If not, please remove the pan with the remaining water at the same time, because you don't need steam at the end. Caution, hot!
I hope the bread turns out well and you enjoy it as much as I do.


Hallo liebe Katsu,
ich habe zwei Fragen:
Die 3 EL Haferflocken – sind die zum Wälzen oder kommen die in den Teig?
Wie lange soll das Brot nachdem es aus der Form ist, noch weiterbacken?
Es riecht schon köstlich, ich freu mich schon drauf. Deine Brötchenrezepte sind jedenfalls der Hit – die ganze Familie liebt sie!
Hej Anke,
die 3 EL kommen mit in den Teig, zum Wälzen nimmst Du zusätzlich so viele, wie Du magst. Das Brot braucht zum Schluss noch 10-15 Minutennim Ofen, bis es fertig gebacken ist.
Cool, dass euch die Brötchen so gut schmecken. Ich habe sie länger nicht mehr gemacht, danke für die Erinnerung – nächstes Wochenende gibt es frische Brötchen!
Guten Gelingen,
Katsu